War Thunder now supports Steam Game Recording after this week’s Tusk Force release so that players can save, clip, and export gameplay directly through Steam on PC. The feature works from the Steam client or the in-game overlay, and it keeps a rolling recording of recent play for quick clipping.
How to turn it on
Recording is off by default. Open Steam and go to Steam > Settings > Game Recording, or press Shift + Tab In-game and click the Game Recording button at the bottom of the overlay. Steam will offer two modes: “Record in Background” or “Record Manually”, as well as several options for quality, keybinds, encoding, and the save folder.
For full details on the feature, see the official Steam Game Recording page at Steam Game Recording or the War Thunder announcement linked below.
Recording basics for War Thunder
If “Record in Background” is enabled, Steam keeps the last 120 minutes of gameplay in a temporary buffer while War Thunder is open. If using manual mode, press Ctrl + F11 by default to start and stop recording.
When War Thunder closes, the recorded portion appears in the post-game summary for War Thunder in the Steam library. From there the timeline can be opened to save clips or screenshots without returning to the overlay.

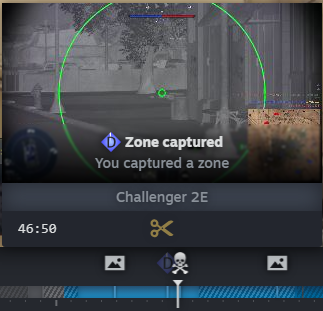
Timeline colors
- Light blue, playing in a battle
- Light blue striped, spawn screen in a battle
- Dark blue, loading in or out of a battle
- Dark blue striped, in the hangar
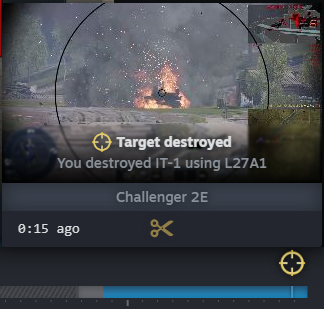
Event icons
The timeline also shows icons for key events. Hovering reveals details like the ammo type used or the vehicle that destroyed you.

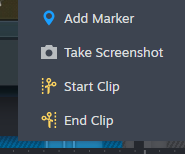
Placing markers and screenshots
Right-click the timeline to place a marker on a moment worth saving. Right-clicking also offers a screenshot option, which saves to the standard Steam screenshot folder.

Creating and exporting clips
To make a clip, open the timeline from the Steam overlay or the post-game summary, then:
- Right click the timeline and click “Start Clip”.
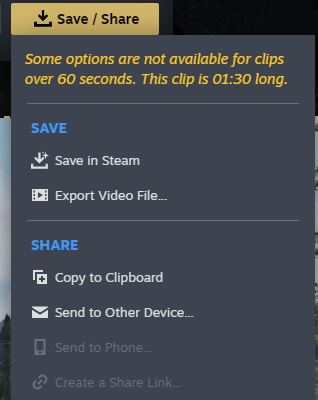
Drag the yellow handle to highlight the section to save. Press the yellow “Save / Share” button and choose where to save it. Exporting as an MP4 sends the clip to the PC for sharing on Discord or other services.
Quick tip: use markers during hectic fights so clipping later is faster, and double-check keybinds in the Steam settings if Ctrl + F11 conflicts with any War Thunder controls.
Give Steam Game Recording a try in the Tusk Force build and see which settings fit the PC rig. Drop thoughts and clips in the comments, and follow us on X and Bluesky.