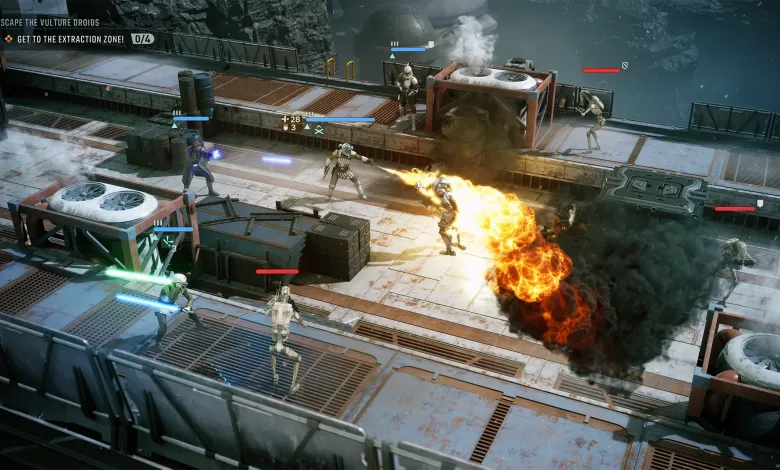
Star Wars Zero Company will launch on Xbox Series X|S on August 27, 2026, and its turn-based battles have a few rules worth learning before the first blaster bolt flies. The Xbox Wire guide lays out 7 practical lessons for players who are new to squad tactics, from preparing a loadout to turning a map’s hazards against the enemy.
Four difficulty settings give you room to find the right level of pressure, and the setting can be changed between missions. That means you can focus on learning the systems without locking yourself into one level of challenge for the entire campaign.


Check Your Squad Before Every Mission
Use the prep screen to review each operator’s weapon mods, utility items, and available focus points. Gear is limited early on, so moving your best equipment between characters is part of building a team for the mission ahead. A grenade, health pack, or weapon upgrade can be far more useful in the right hands than sitting unused in storage.
Utility items refresh at the start of every battle, even when a story mission includes several fights in a row. Spend them when they can solve a problem instead of saving every grenade for a perfect moment that may never arrive. Before a major battle, it is also smart to create a manual save unless you are playing Beskar mode, which does not allow loading previous saves. The game creates an autosave during the first round, but recovering from a mistake can still mean replaying story and management sections from the start of the cycle.
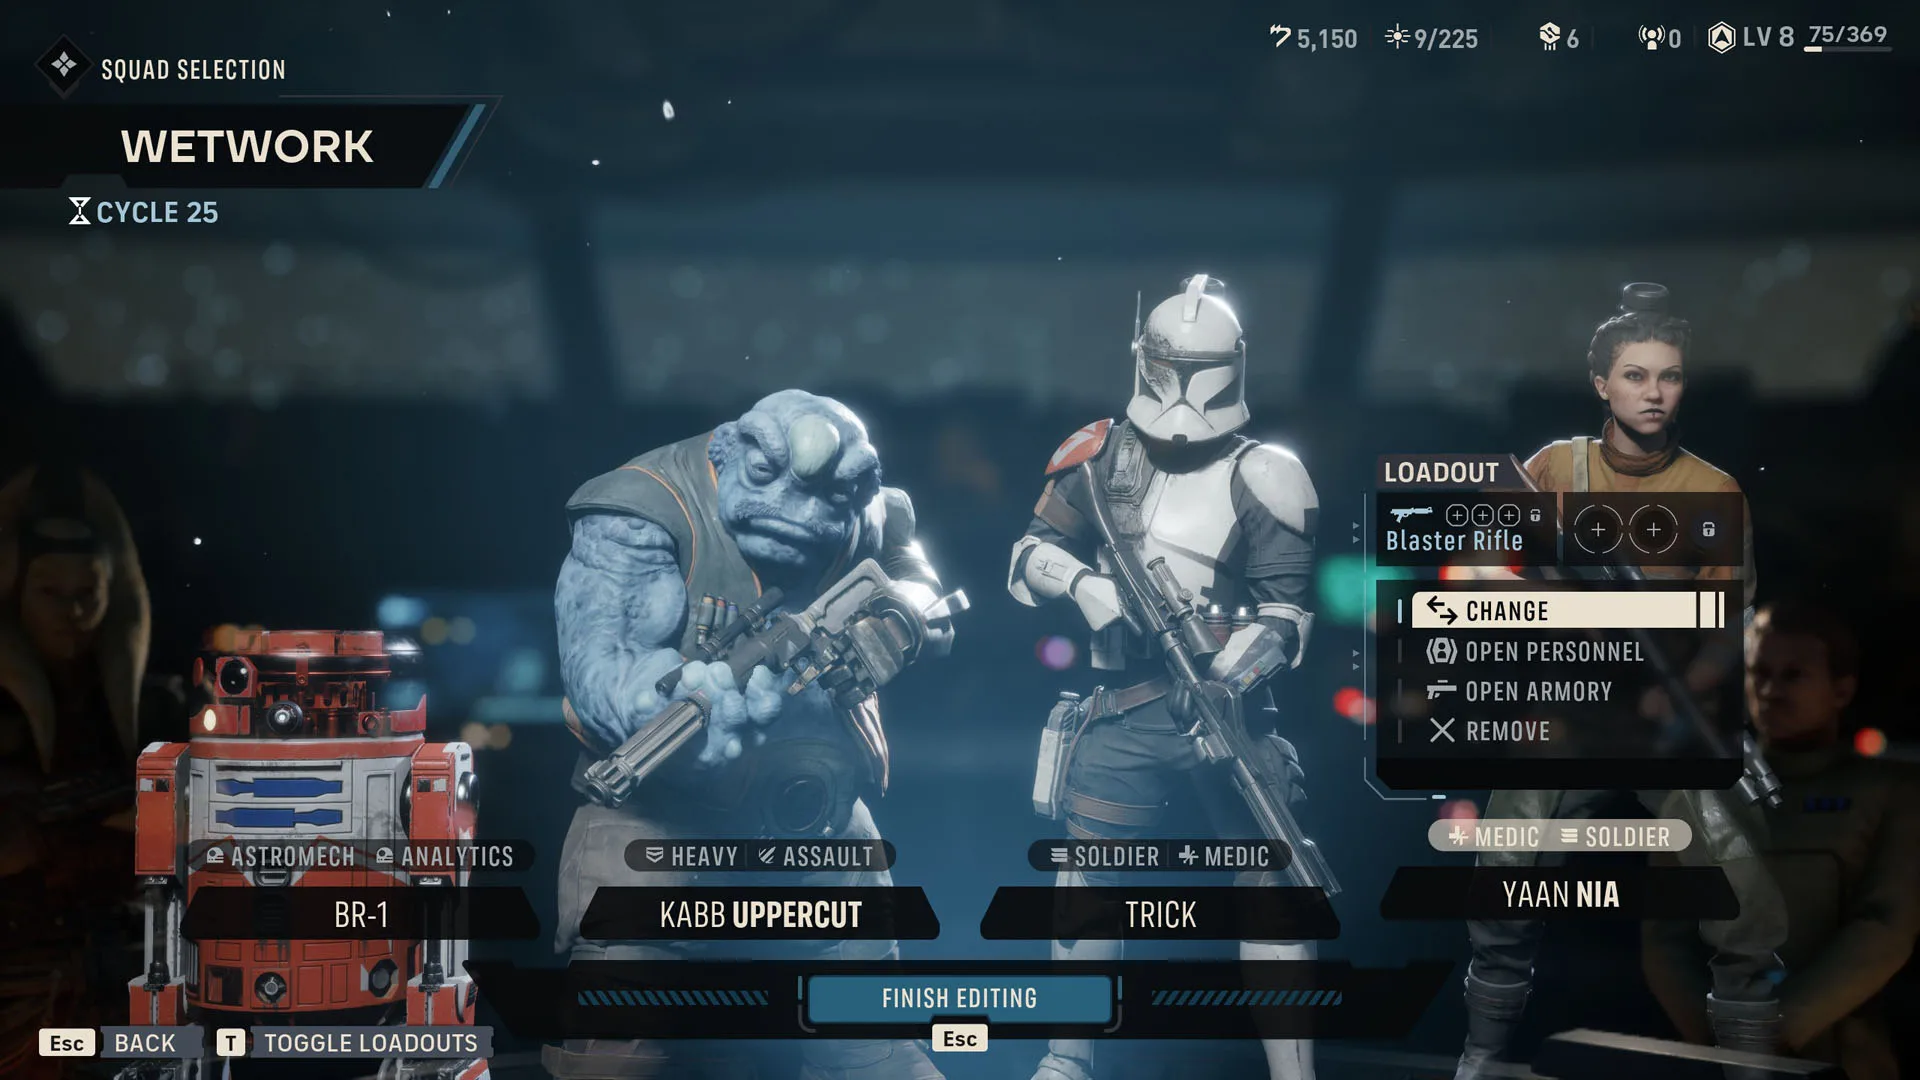
Think Through the Entire Squad’s Turn
Do not feel pressured to finish one character’s turn before touching anyone else. Star Wars Zero Company lets you alternate individual action points between operators, which opens up far more tactical routes than simply moving down the squad list.
Click through your team before committing to a move or attack. Check the hit chance from different positions, identify the most dangerous enemy, and look for a target you can remove completely. A slightly different order of actions can create cover, open a firing lane, or let another operator finish a weakened opponent.
Build Extra Actions Into Your Turns
Every operator starts with 3 action points, but that is better understood as a starting point than a hard ceiling on what a turn can accomplish. One operator can call for a free assist, while abilities such as Hawks’ Pico-5, an Astromech’s Built-in Comlink, and Coordinated Support can give teammates more actions.
Kabb’s Uppercut adds another trick to the system by refunding the actions spent when it eliminates an enemy. The 3-point limit applies to how many points a character can hold at once, so chained abilities can produce turns where one or more operators act far beyond the normal allowance. Look for those combinations before spending your first action.
Spend Advantage Before It Reaches 10
Advantage is easy to hoard for a crisis, but using it often can prevent the crisis from forming. The meter caps at 10, so any opportunity to build more while you are already full is wasted. Spend points on a strong ability when it removes a threat, creates a better position, or sets up the rest of the squad.
Tricks’ rocket blast, for example, can deal with a newly deployed group of battle droids before they spread across the flank. Holding Advantage for one dramatic rescue is tempting, but regular spending gives you more control over the fight.
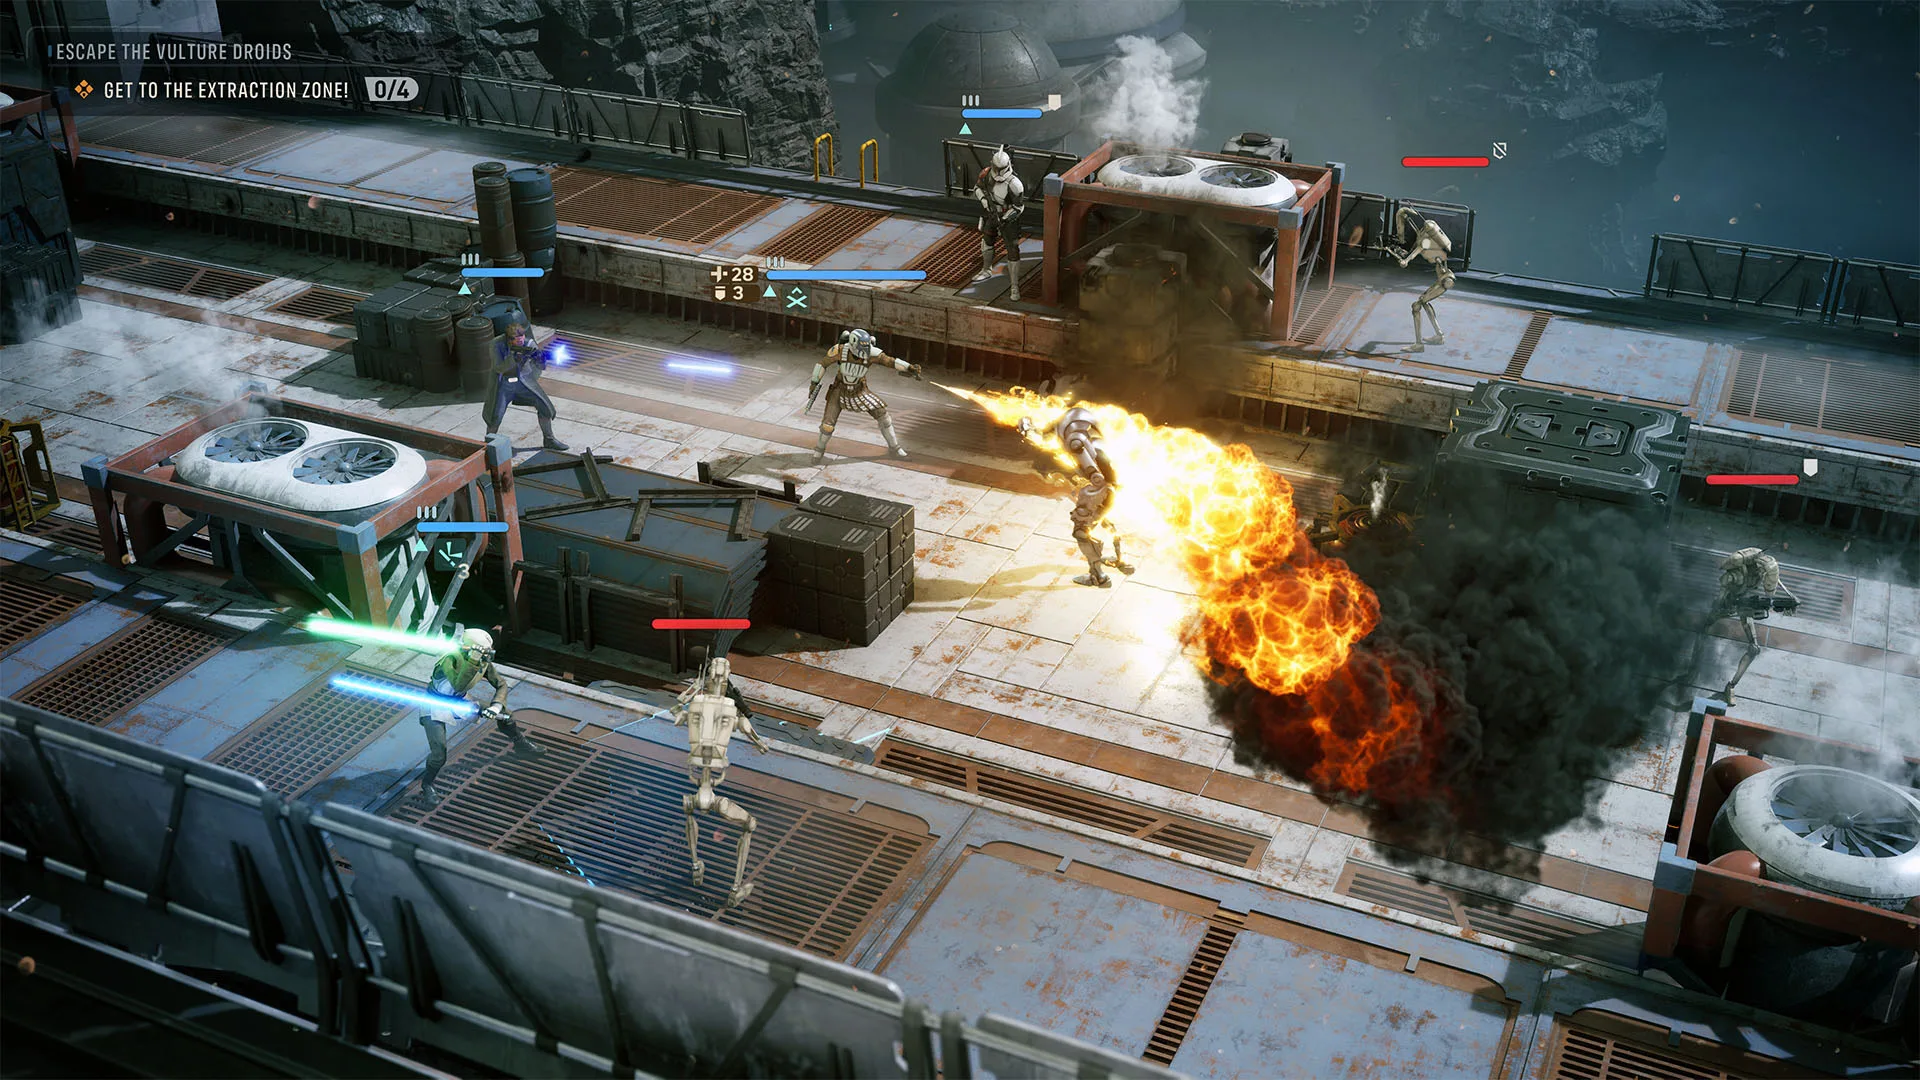
Use Ledges Against Tough Enemies
Damage is not the only way to remove an opponent. Concussion grenades, Force push, and Kabb’s Uppercut can shove enemies around the battlefield, and many locations include open drops, catwalks, and weak railings. If an enemy goes over the edge, its health total stops being your problem.
This is especially useful against rolling droidekas, which arrive with shields and plenty of health. Rather than spending several turns wearing one down, look for a chance to push it into the void or off a platform. The battlefield can finish a target in a single move.
Position for Extraction Before You Trigger the Objective
Not every mission ends with the last enemy defeated. Several objectives require the entire squad to reach an extraction zone, and fresh threats can appear until everyone gets there. Start moving toward the exit before the objective is complete so the team is not stranded on the wrong side of the map.
The mission ends as soon as the whole squad enters the zone; there is no extra turn to survive afterward. Cly is particularly useful for objectives involving consoles or crates because her Mandalorian jetpack gives her the range to reach a target and catch up with the rest of the team. Let slower operators advance first, then have Cly finish the interaction and fly back toward the exit.
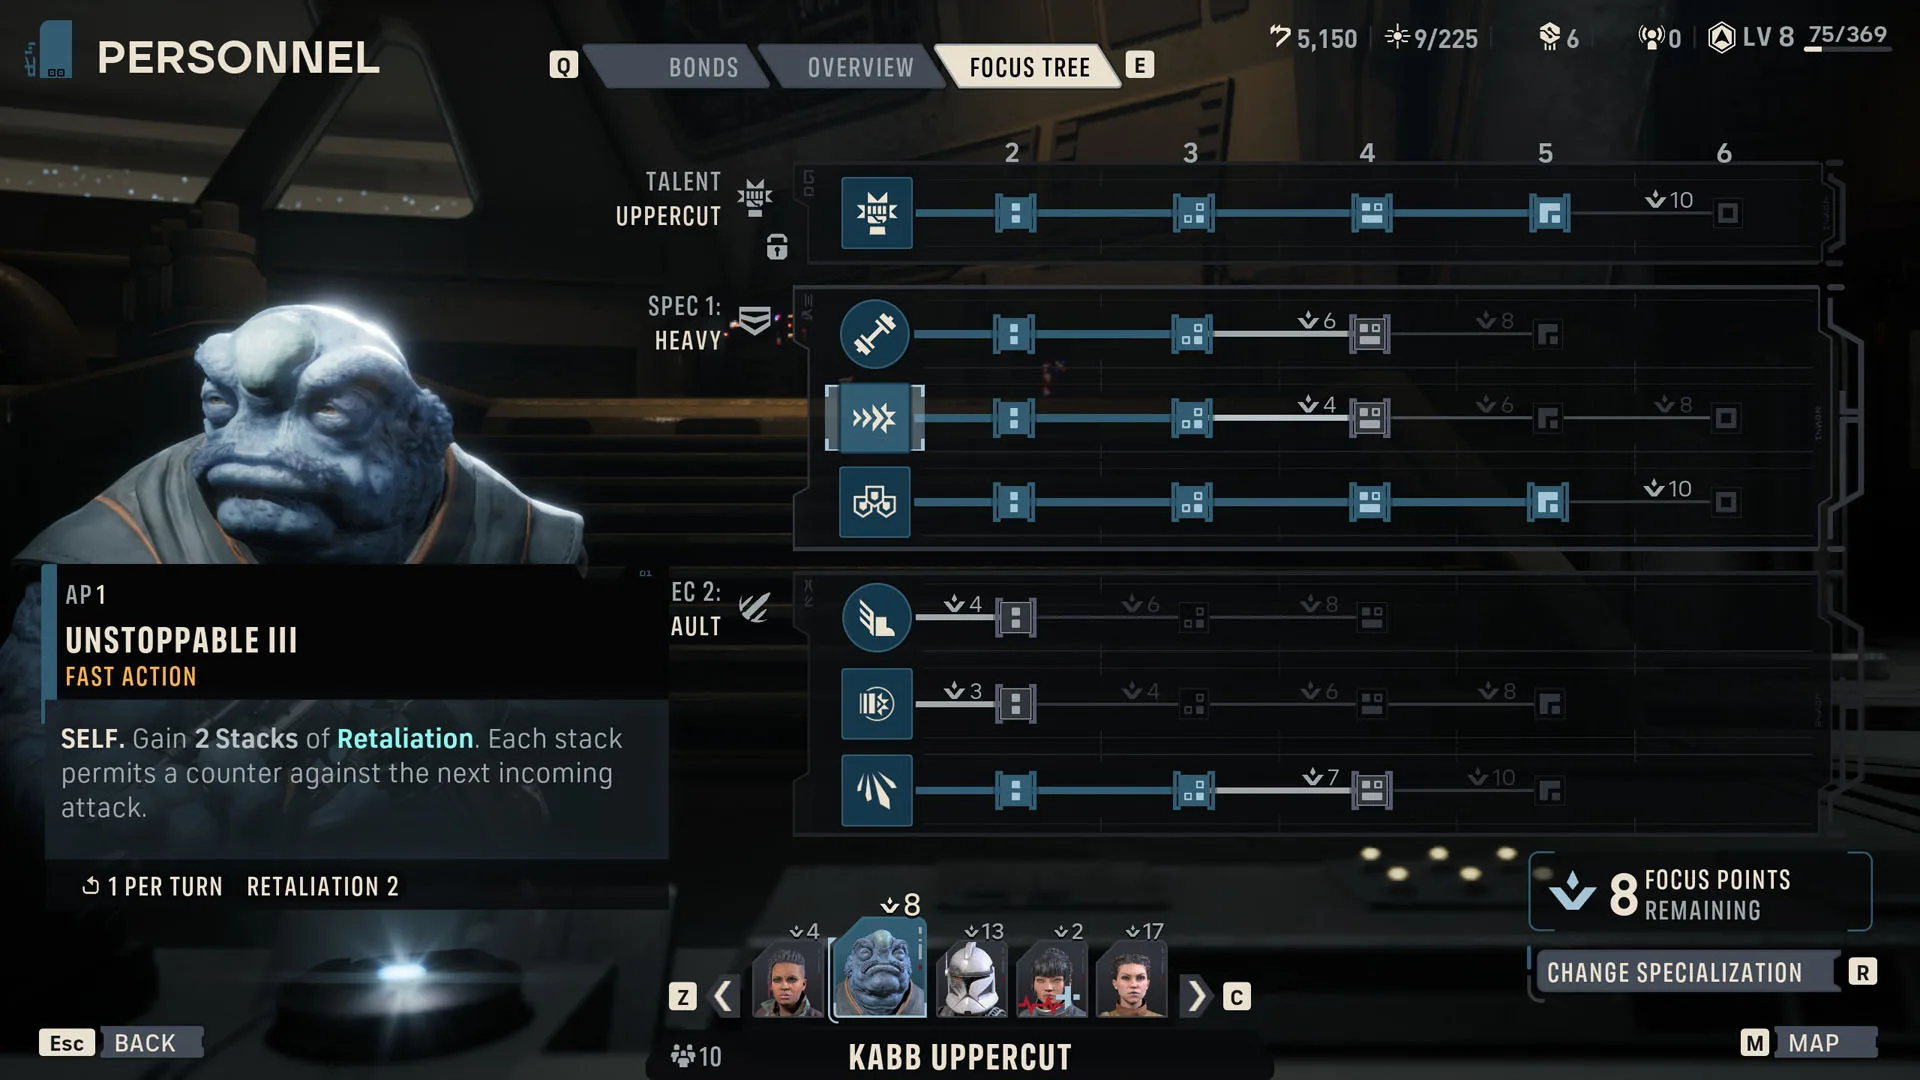
Change Builds Without Fear
The armory and personnel screens at the Den allow you to change specializations, talents, weapons, and focus point distributions for almost every character. The main exceptions are the talents of authored characters and specializations tied to a character type, such as Astromech and Jedi Padawan.
If an operator’s abilities are not getting much use, try a different specialization or rebuild the squad around another combination. You are not locked into the choices made when a character joins, so testing different teams is one of the safest ways to learn which abilities work together. Even the second specialization unlocked later in the story is an invitation to try something new rather than a decision that has to be perfect.
Which tactic will you rely on during your first deployment in Star Wars Zero Company? Tell us what you think in the comments, and follow us on X, Bluesky, YouTube, Instagram, Steam, and Telegram.
Star Wars Zero Company
Developed by Bit Reactor

Command an elite squad through a gritty and authentic story in Star Wars Zero Company, a single-player turn-based tactics game.
- Genre Strategy, Turn-based strategy (TBS), Tactical
- Platforms Xbox Series X|S, PC (Microsoft Windows), PlayStation 5
- Perspective Bird view / Isometric
- Modes Single player
- Release August 27, 2026
- Publisher Electronic Arts
-
Age Rating